
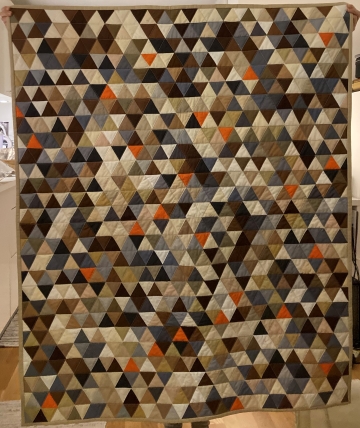
Little Peaks Quilt
It's done!
This blog post is the continuation of Solving a quilt puzzle: Part 2 and the final post in the series. When I wrote the last post (1.5 years ago 😬), I was still sewing the triangles to each other, in long stripes of triangles. I also planned on writing more blog posts describing the process, but that obviously didn’t happen. If you’re new here and don’t want to read the previous posts, the quilt design I used is free on Purl Soho’s website.
It took me a lot longer to sew than I thought it would. After sewing +1000 triangles following the order that I had determined, I still had to:
- sew each strip to each other until the quilt top was complete;
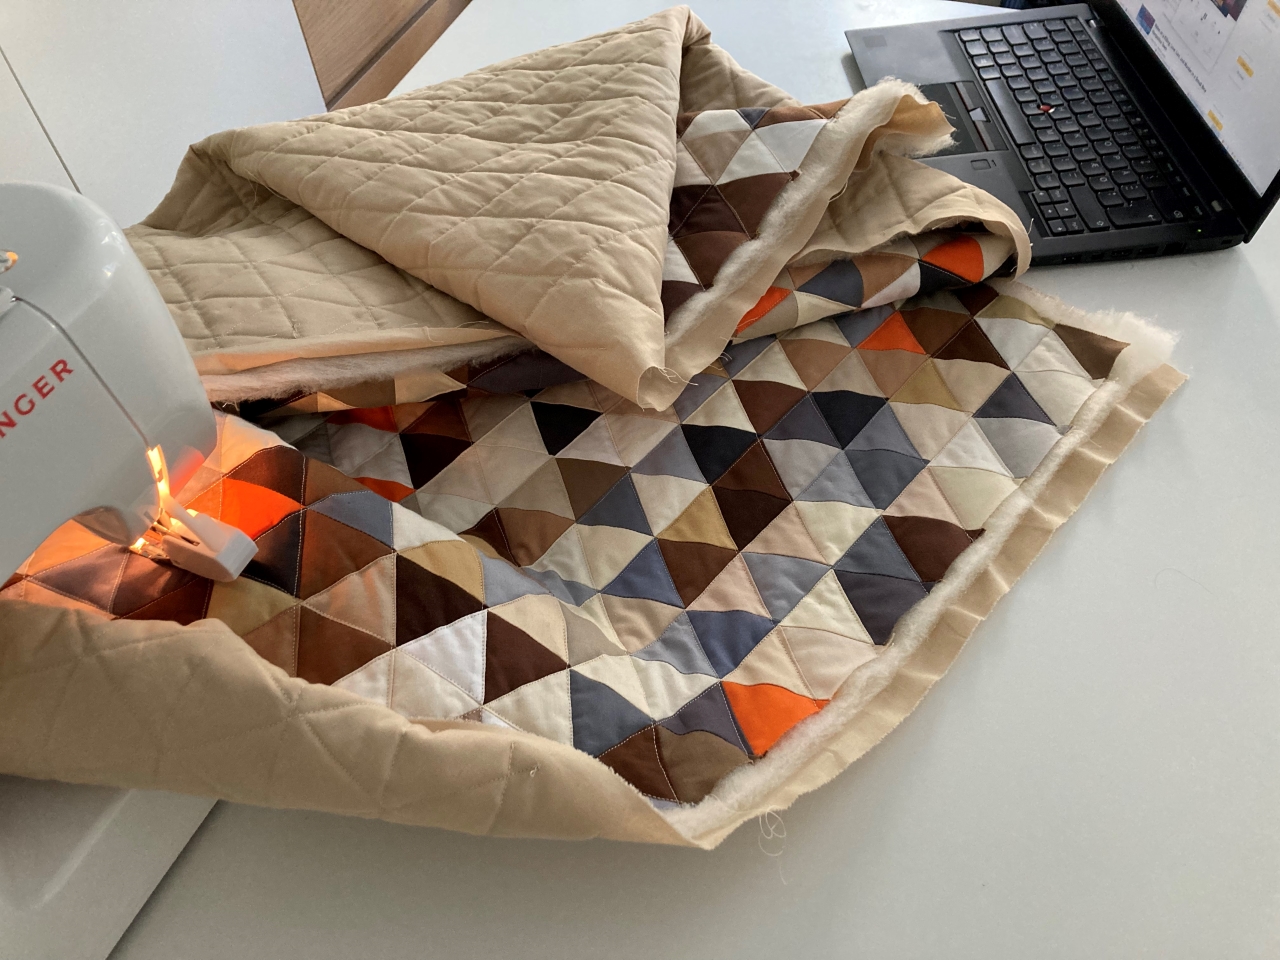
- create a quilt sandwich with three layers: quilt top, quilt batting (I used wool) and a quilt backing (I used cotton in a solid color);
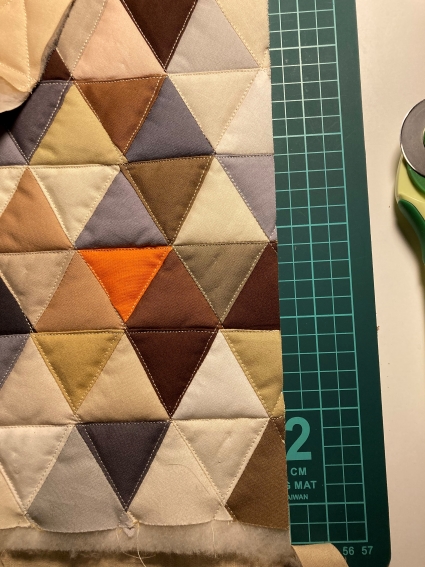
- pin the quilt sandwich in place and sew in the ditch, by following the patchwork seamlines;
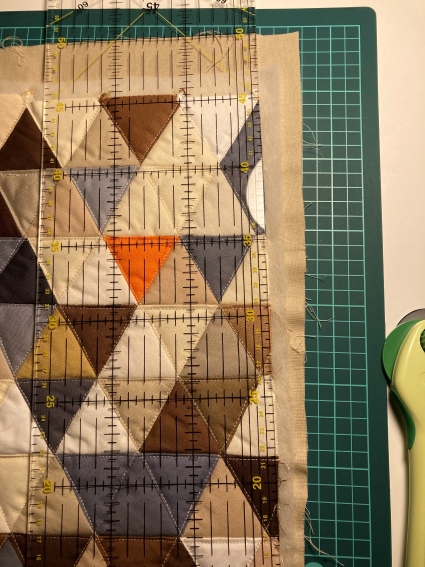
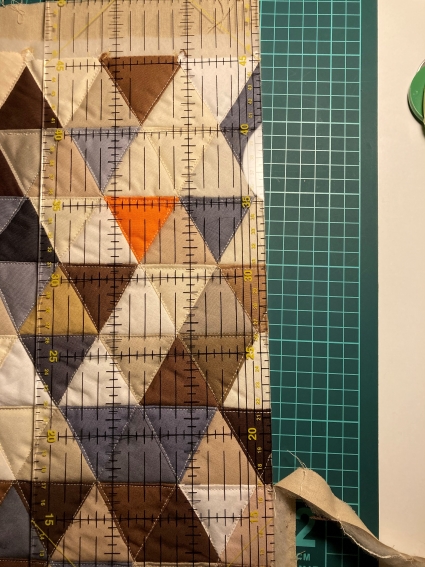
- trim the quilt sandwich;
- create the binding (basically a long strip of fabric);
- machine sew one side of the binding to the quilt and hand sew the other side.
On step 3 I decided to do a marathon sewing weekend to finish the quilting part of the process. I took a few photos and that’s what I’m sharing on this post.
We live in a tiny apartment and my sewing machine is quite noisy, so I temporarily moved our kitchen table to the bedroom. This way I was able to sew for ten hours straight without feeling like I was being a nuisance to my husband and everyone on Discord. 😅
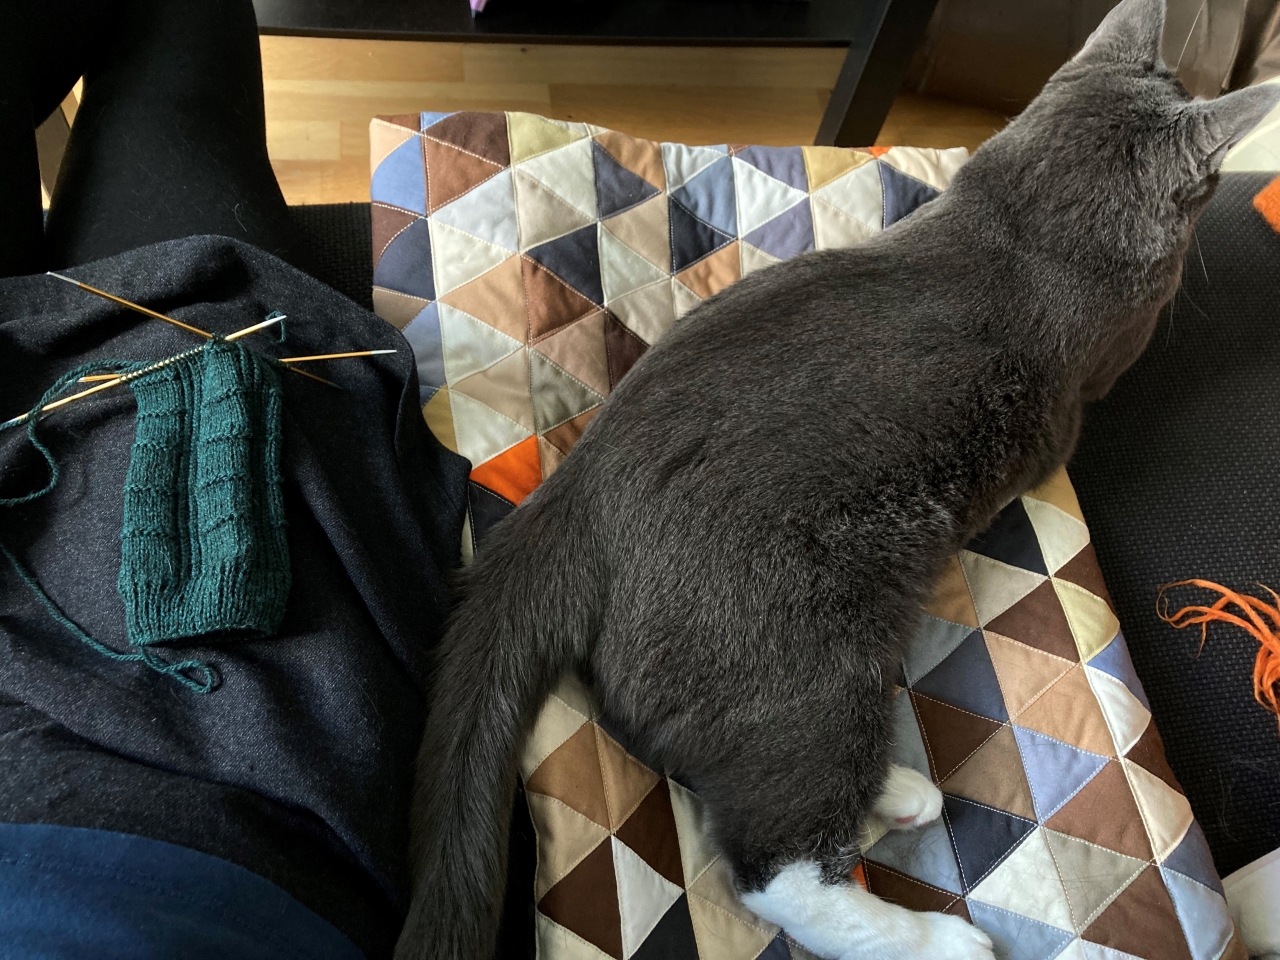
My cat Estela loves this quilt and every time she finds it she must lay on it. Even if I was in the middle of sewing it and just taking a 10 minute break.
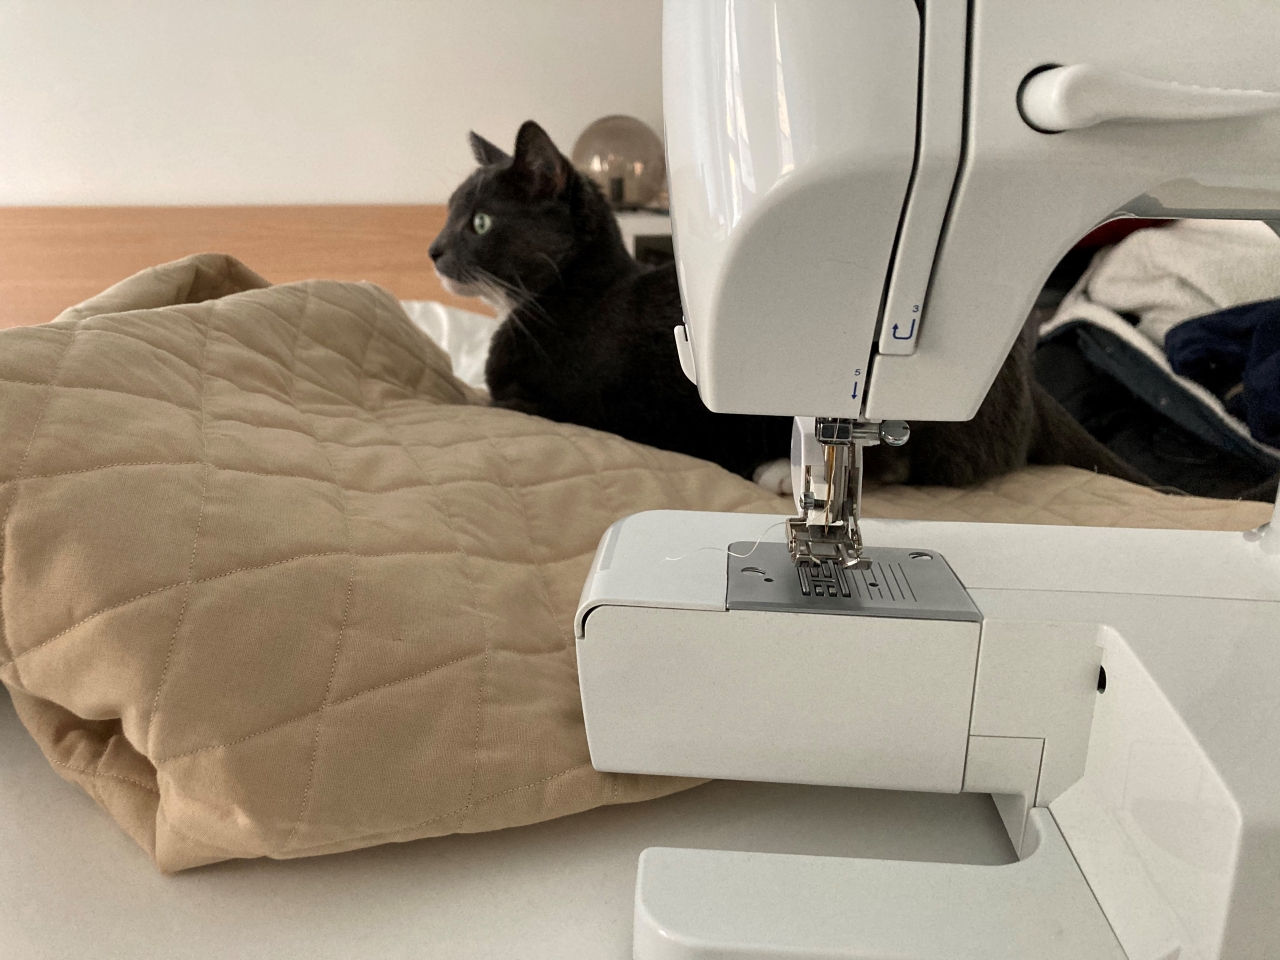
I believe I was more than halfway done on Saturday morning, and by Sunday evening the quilting was done!
The next step was to trim the quilt sandwich and it was incredibly satisfying:
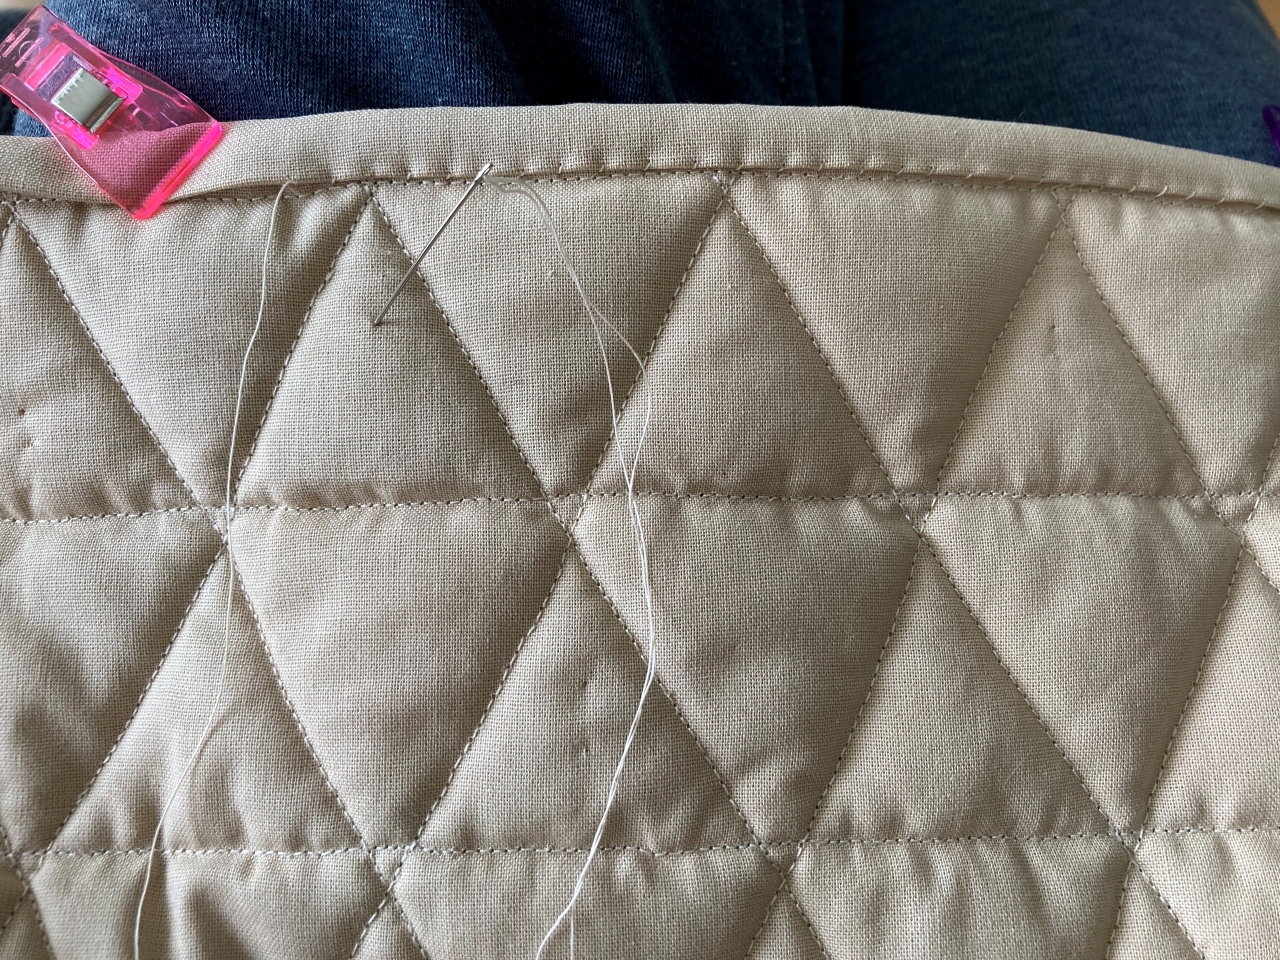
The binding was easy to craft and machine sew to the quilt. And the very last step might have been my favorite: hand sewing the binding to the quilt. The corners were a little stressful, but the sides were meditative and enjoyable. I plan on hand quilting another blanket in the future.
As you can see on the photo, my quilt is far from perfect, but we use it every day. It’s beautiful and the wool batting makes it super warm. 10/10 would make it again, but on the next one I will be more mindful when cutting the fabric pieces.
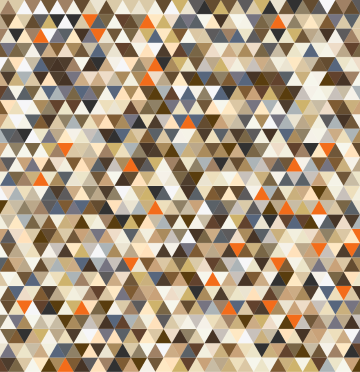
And now a side-by-side of the plan vs the final result. They don’t look the same for the reasons I explained in the previous post.
And that’s it! I’m sorry for the photo dump. I left Instagram recently and I guess in the future I will share more photos here.